


Print design shares some characteristics with digital design: don’t use too many typefaces, stick to two or three colours, ensure text is legible and so on. There are, however, some design considerations that are more applicable to print than they are online. The use of images in print design can be a particular challenge. It’s not the same as working digitally – you can’t just ‘embed’ an image, give credit and leave it at that. Print is a very different medium to pixels. What considerations do you need to make when using images in print?
Resolution
What’s the maximum resolution this image is available in? Resolution is perhaps the most important consideration when choosing photos for print. As a general rule, printed images should be between 300-400 dpi, or lower for images that are only designed to be seen from a distance. You can’t conjure up extra pixels – ensure that your original file has a high enough resolution to use in your design before you start editing and manipulating it in Photoshop. If you can’t find a high resolution copy of your chosen photo, you’ll have to reduce its printed size to prevent it from becoming pixellated.
Copyright
Distributing someone else’s photos for commercial gain is almost certainly an infringement of copyright law. Online, you might be able to fix your mistake by retrospectively providing credit to the photographer, but away from the web you won’t be able to take that measure. Every image is copyrighted automatically. The photographer doesn’t need to apply for it. Ask the image owner for permission before using it. You should explain that it’s for commercial use – and don’t expect them to be willing to give it to you for free. Alternatively, use stock photos or hire a photographer to set up a shoot just for you.
CMYK vs. RGB
Most businesses tend to print using offset lithography, which requires designs to use the CMYK colour model. Chances are, images for use on the web use the RGB model instead. If you’ve been working with an RGB image, you’ll need to convert it into CMYK before sending the file off to the printer.
Bleed and safe zones
If you’re new to design, you may not have heard of these two important terms. In printing, it is best to extend your design beyond the edge of the intended final design size. Bleeds tend to be around 3mm in size, on all edges of the design. The bleed is in place to account for printing inconsistencies and errors – you don’t want a slither of your carefully chosen image to end up off the edge of the page. Similarly, safe zones are areas several millimetres inside of the cutting edge. These are the areas that your images should stay inside, as cutting inaccuracies could lead to the areas outside of the safe zone being trimmed.
Faces
Our eyes are drawn to faces, so it’s certainly a good idea to include a portrait or group photo on your printed material. However, remember that our sight automatically follows the direction that others are looking. For example, if the photo you use in your design features a person who’s looking to their right (your left), and the photo is on the left edge of the design, their eyes will direct attention away from the rest of the design.
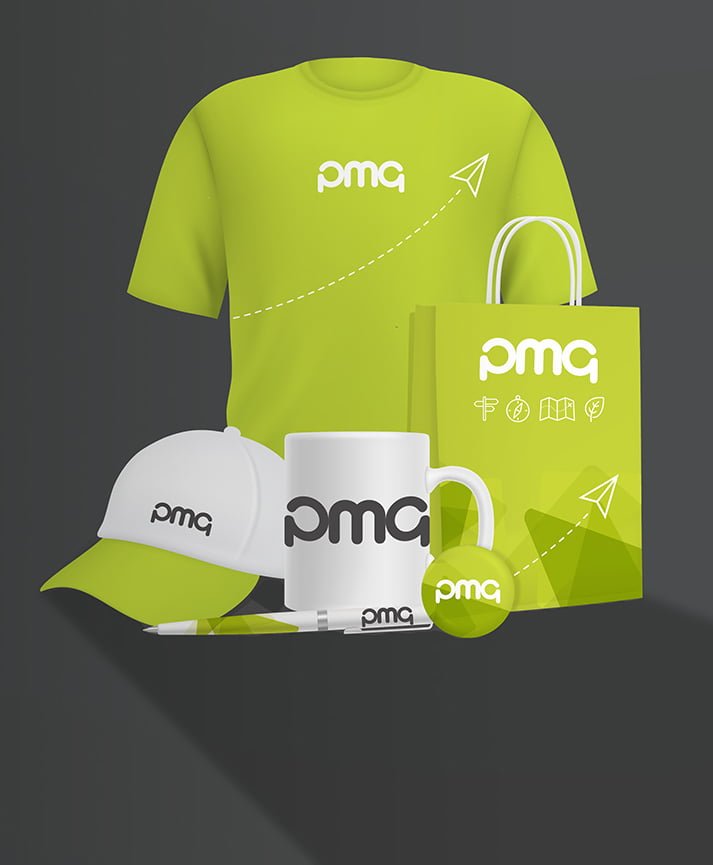
If you’re in need of more print design tips, speak to PMG’s design studio team. We’re a print management and design company based in Leeds – but we’re happy to chat with brands across the UK and around the world.

